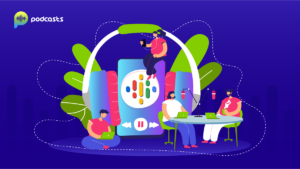

The learning curve is easy with Zoom. Also, most of the essential features of Zoom that you will require for your podcasts are free. Hence, it is an all-rounder software when it comes to connecting people from different time zones together! Recording a podcast using Zoom is very quick, easy, and takes the least effort. That’s why in this article, we will go through the complete process of how to record a podcast using Zoom! Let’s get started.
What is Zoom?
Zoom is a fantastic software for remote meetings and conferencing which runs right in your browser. You can add unlimited members to the call with the paid version. However, the limit comes down to 100 people if you have the free version of Zoom, which is adequate for Podcasters.
Zoom runs on almost every device, such as your computer, smartphone, or tablet. You can either use your built-in speakers in your device or use external speakers to record your meetings as per your requirements!
Also, the process of recording your call via Zoom is really easy, and you will instantly get your audio file right after you hang up the call!
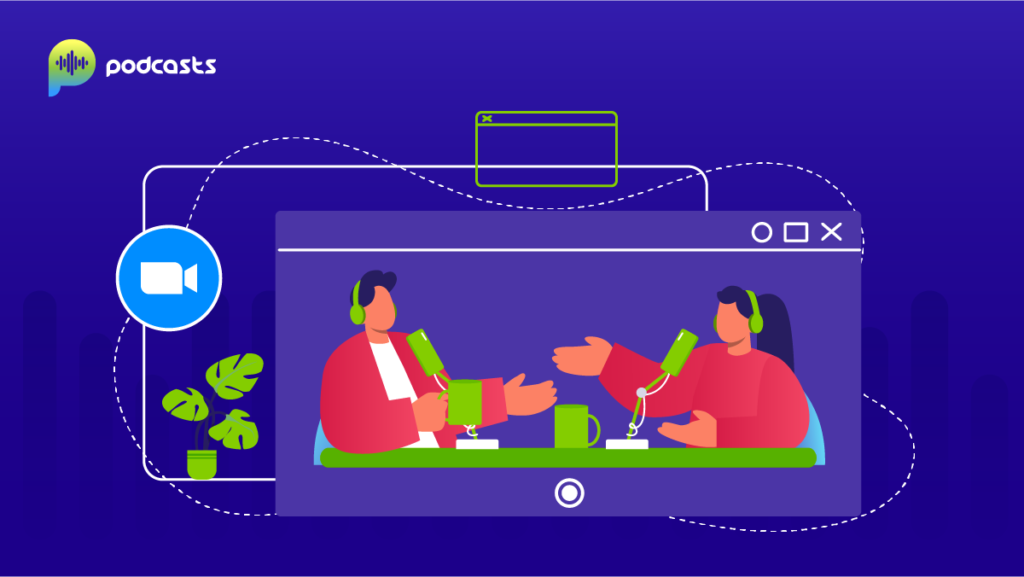
Why Use Zoom?
Zoom is currently a prevalent video conferencing software out there that is benefitting people worldwide. Over the past year, Zoom generated close to a whopping 1 Billion U.S. dollars in total revenue during the fourth quarter of 2024!
When it comes to podcasts, you get a myriad of benefits while choosing Zoom as your preferred podcast recording software. Here are a few of them:
- Zoom offers an exceptional quality of sound in both audio and videos, which is one of the most crucial requirements while recording a podcast.
- If you are using Zoom to record an interrogation, it records the analysis of the episode and then integrates it with the final script easily. This applies to almost every type of podcast.
- The software is very beginner-friendly and easy to use for both the host and the guest.
- Zoom offers a feature wherein you can automatically split the audio from the video and use it for your podcasts.
- All the audio or video files are instantly available right when you hang up the call, ensuring that you can start with the editing process a lot quicker and not wait for the recorded files to arrive!
Where to Download Zoom?
Zoom has many different apps available in the Download Center but to get started; you just need to install Zoom Client for Meetings. Here is the procedure.
Step 1: Visit Zoom.us
Step 2: Tap Resources in the top right corner of the screen. Click on Download Zoom Client.
You will now find yourself in the Zoom Download Center. Click on the first option, Zoom client for meetings.
Step 3: Your download will now get started. You can find it in your list of Applications.
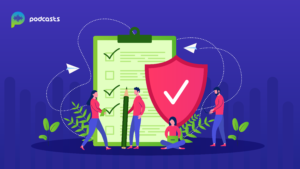
Free vs. Paid Accounts
If you are confused about whether you should choose the Free or Paid account on zoom for your podcast venture, here is a quick differentiation of functionalities on both accounts!
Time limit for Calls
If you are two people talking over a call on Zoom, there is no time limit restriction for you. However, if a third person joins the conversation, your time limit for calls is just 40 minutes with the Free plan of Zoom.
When you purchase the paid plans of Zoom, this time limit restriction gets eliminated, and you can continue your conversation for endless hours.
Call Recording
With the free version(Zoom Basic), you can only record your calls to the device you are using and not the cloud.
However, with the paid versions of zoom, you can record your calls directly into the cloud and share them with your team members with just a few clicks!
Inviting Participants
With the free version of Zoom, you need to create a Zoom link to invite your fellow podcasters to the meeting.
On the other hand, the paid version of Zoom gives you more options like automatic integration to emails.
Equipment Needed
There are no special requirements for extra equipment for using Zoom. The basic tools and equipment that can help you record the best quality podcasts on zoom are:
- Camera
- Microphone
- Headphones
- Stable Internet connection
Installing and Setting up Zoom
When you have already downloaded Zoom Meetings on your device, you will already find the default Zoom settings set for you, which is enough for getting on a call. However, taking a bit more time into configuring the settings will work in your favor while recording a podcast. Let’s jump on to configuring the Zooms settings for your podcasts.
General Settings
Under the General Settings, select everything except “Use dual monitors” unless you have dual monitors, which you will use for recording your podcasts.
Also, choose the option to have Zoom automatically put the invitation URL on your clipboard since it will be really handy during rush hours!
Video Settings
If you are using a laptop with a built-in webcam, select an external USB webcam.
Next, enable HD. Select the option to turn off your video while joining any meeting. It might get awkward if you suddenly pop up with your video when you join, and others have their cameras off.
Audio Settings
When you want to record a podcast with zoom, the two most important settings are your Audio and Recording.
For starters, verify that the microphone you are using comes in the list of available mics. Select it and tap the Test Mic button to record any test audio, and play it back.
Similarly, for speaker settings, select your headphones and do a quick test. Tap on Test Speaker, and you can check out the sound quality.
Within the Audio tab, you will find the option to “Enable Original Sound” from the microphone, which is the next thing you should test out.
Lastly, you can choose which tools to toggle on and off when the original sound is active such as High Fidelity Music Mode, etc. These features will improve the quality of the audio even more. It will disable the compression and Zoom’s post-processing. The echo cancellation will be canceled, and you can raise the audio codec quality.
Advanced Audio Settings
Here, choose the intensity of your Echo cancellation between auto and aggressive. Echo cancellation is an excellent feature for recording podcasts. However, if you want to record the RAW audio and edit it later during the post-production process, you need to turn it off.
Recording Settings
Ensure that you record a separate audio file for each participant. This will help you later during the post-production process for mixing the audio files properly.
Also, keep your recorded files saved on Zoom as well as a backup measure.
Local Recordings
Here all your zoom files will be stored on your device, which is the only option available when using the Zoom Free version for recording your podcast.
If you don’t have at least 16GB of space remaining, it is recommended that you free your space on your device before recording the calls.
Cloud Recordings
You can use the Zoom Cloud only when you have the paid plans from Zoom. It gives you more storage space for your files on the cloud in comparison to the device.
Enable the automatic recording and recording consent. This feature will ask your participants for their consent before recording their call, which is always a better option instead of randomly recording a callow without them knowing about it.
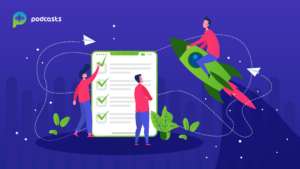
How to Record a Podcast with Zoom?
Now when we are done configuring the settings for Zoom, let’s check out the steps to record a podcast using Zoom.
Step 1: Start a new Zoom Meeting.
Before you start your Zoom Call, ensure that all the equipment and features are running properly. Check for any updates or bug fixes by clicking on your profile icon in the top right corner.
Click on “New Meeting,” and you will find a list of controls. Take out a few minutes and understand all the controls to make the recording duration much easier.
Step 2: Send the invite link or the meeting ID to the other participants
You will find the Invite button at the bottom of the screen. Tap on Invite and tap on Copy Invitation. You will now get the meeting ID and the passcode. Send this to your guests by either copy-pasting the ID or the link or emailing the link to them.
Step 3: Allow your participants to record the meeting
Hover over the name in the list of participants and click on More. Tap on Allow Recording, and your participants can now record the Zoom call.
Step 4: Turn on the Original Sound and ask your participants to do the same.
Ask all the participants to turn on their Original sound. You can find the option in the top left of the screen.
You will now see a red recording bubble next to every participant, whoever is recording the zoom call.
Step 5: Start Recording
Step 6: Record the Interview
Get your podcast started, and the entire duration will be recorded.
Step 7: End the Meeting
When you are done with the conversation, ask the other participants to hold back for a minute to sort out the recordings. Zoom will take just a few minutes to save all the files on the devices.
Click on End Meeting for All after you are done.
You will find zoom automatically saves the files and converts them. Wait for it to complete, and your files will then be saved on your device.
Conclusion
Running a podcast on Zoom is quick and easy. It is one of the best ways to record a podcast and reach out to a wider audience. If you are looking to host meetings and record zoom calls frequently for your podcasts, it is recommended that you purchase the Zoom paid plans for the best convenience.